|
|
I created my moon phases in Paint. For a full moon, I used the far left image. For a last quarter, I used the middle image. For a new moon, I used the far right image. For a first quarter, I flipped the middle image on its side, so it faced the other direction.
|

|
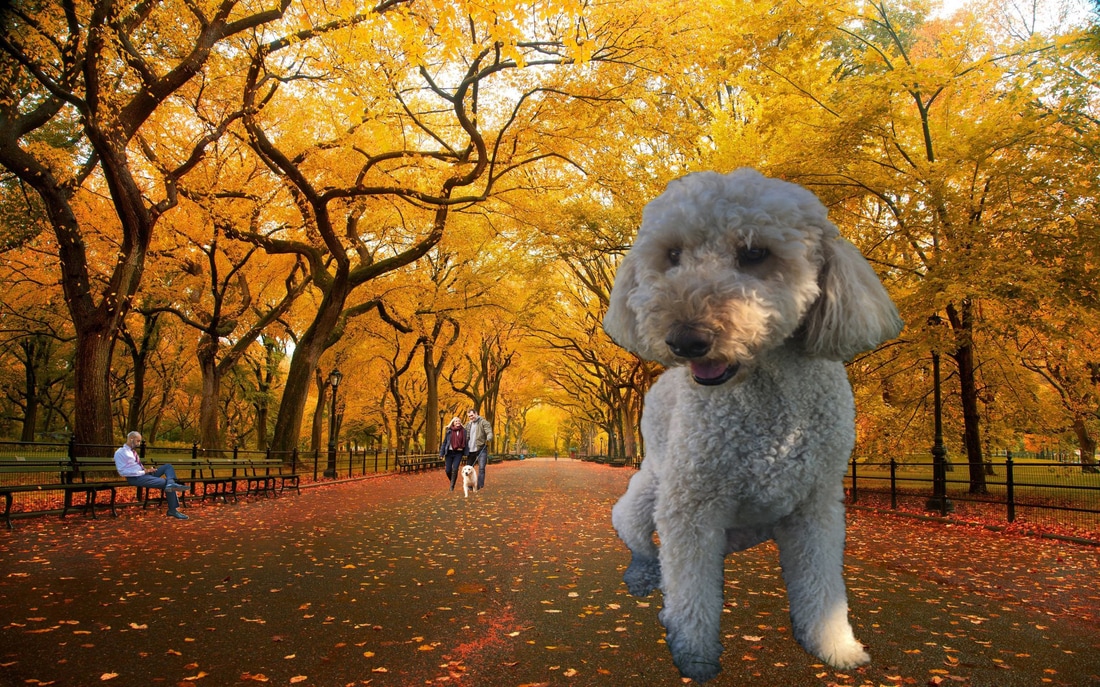
September 2017
For this month, I used a picture of my dog that I took in September. I photo-shopped her onto a blank picture of Central Park in the fall. The bright fall colors and the leaves made it obvious that it was supposed to be in autumn. I added a picture of a couple walking their dog in the park, and a picture of a man sitting on a bench, listening to music, to make it more realistic, and to add more elements. |
|
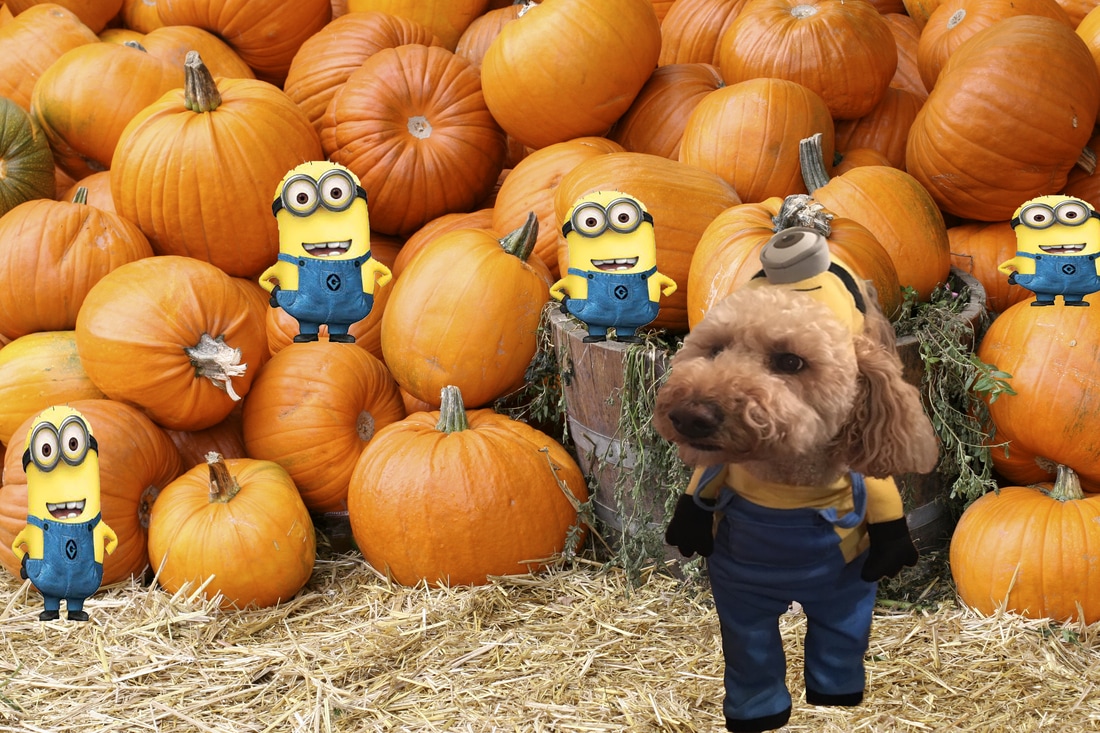
October 2017
For the month of October, I used a picture of my dog in her Halloween costume. This year, she was a minion. So, I photo shopped her onto a pumpkin patch, to create a fall/October theme. Then, I added a bunch of minion cartoons, standing on the pumpkins, making the image even cuter. I brightened Chloe up, so she matched the brightness/contrast in the image. Also, I used the color replacement tool in the minions, so they were all mostly the same color. |


|
November 2017
For this picture, I looked up a high quality image of a family at Thanksgiving. Then, I originally just cropped my dog onto the picture, but decided to do my whole family, since there were enough people to use. I changed a lot of the skin tones, using the color replacement tool, and was able to match many of the skin colors, almost perfectly. This made the photo look a lot more realistic. To meet the requirement, I used a line drawing behind the calendar table, to create the turkey, shown on the bottom left.
|
|
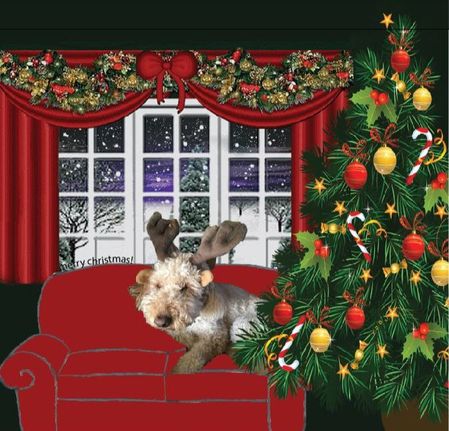
December 2017
For the calendar for the month of December, my theme was Christmas. I found a Christmas tree, and a Christmas-looking window. I then drew a couch and scanned it into the computer. Then, I colored the couch red, to match the curtains, and colored the whole background green to match the background of the window. I also had drawn a small rug, that got cropped out from the image. Since this was 50% of my own art, I was then able to Photoshop a picture of Chloe in reindeer ears, onto the image, creating more of a Christmas mood. I used Christmas stockings as the picture on the bottom |
|
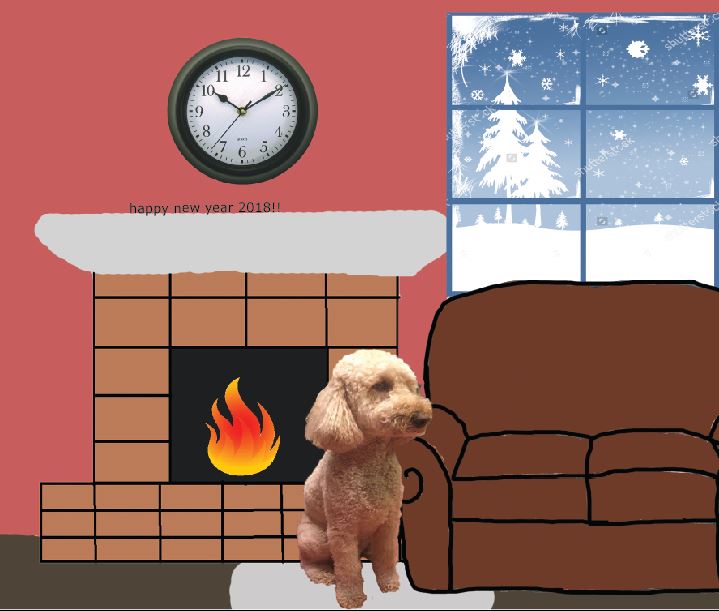
January 2018
For the month of January, I used a winter theme, and placed it in a cabin-like room. I basically created the whole design on my own for this. I recolored the couch from December, from red to brown. I then created a fireplace in Paint, added a while mantle piece, and a fire inside. I found pictures of a clock and a window to use, showing that it was in winter, more specifically, January. I simply drew the walls red, and the floor brown, and drew a small white rug on the ground, the same color as the mantel and similar to the snow, emphasizing those two areas. |

|
February 2018
For my February calendar, I first started off by painting the background layer pink, a similar color to the heart on the bottom of the page. Then, I added a picture of Chloe sitting down. I inserted a heart pillow over her, adding to the Valentine’ Day theme. Then I added a picture of cupid, pointing his arrow at her, so she was the main focus. As one of my new tools, I added text boxes in different fonts and colors, as I have never used it before. I experimented with the vertical text box, and the masks, but the horizontal text boxes looked best. I used two different fonts, to really make your eye go to the “Valentine’s Day:" the font was very elegant, and sweet. Another tool I have never used before was the dodge tool. I used this tool to brighten the area around Chloe, then used the burn tool around her as well.
|

|
March 2018
For the month of March, I made a birthday theme, since Chloe’s birthday is on March 16th. First, I made the background a light pink color, that matched all of the pink accents in the picture. Putting Chloe in the middle of the image, I then added a picture of presents, and a cupcake, and I put confetti at the top. I used the blur tool, which I had never used before, and blurred out the presents and cupcake in the background, so Chloe was the main focus. Next, I put a birthday hat on her head, adding to the birthday theme. I put the words “Happy Birthday” on the bottom, to fill in the empty space. Lastly, on the bottom I put a leprechaun hat, since Saint Patrick’s Day is also in March, on the 18th.
|

|
April 2018
Since Easter falls on April 1st this year, I decided to make my design theme mainly Easter. First, I started by adding Easter eggs to the bottom of the calendar. Since the Easter eggs on the bottom of the page were a pastel color, I chose to keep all the colors pastel, light, and simple. So, I made the background a very light, pastel purple color. Next, I found a picture of Chloe sitting down and centered her in the middle of the image. I added grass at the bottom, and an Easter basket on the left. The basket looked very random and empty, So I added a cute Easter bunny in it, as if it were sitting in it. Since the top left looked pretty empty as well, I added the words “Happy Easter,” tying the whole theme together.
|
